DIY: Barstools
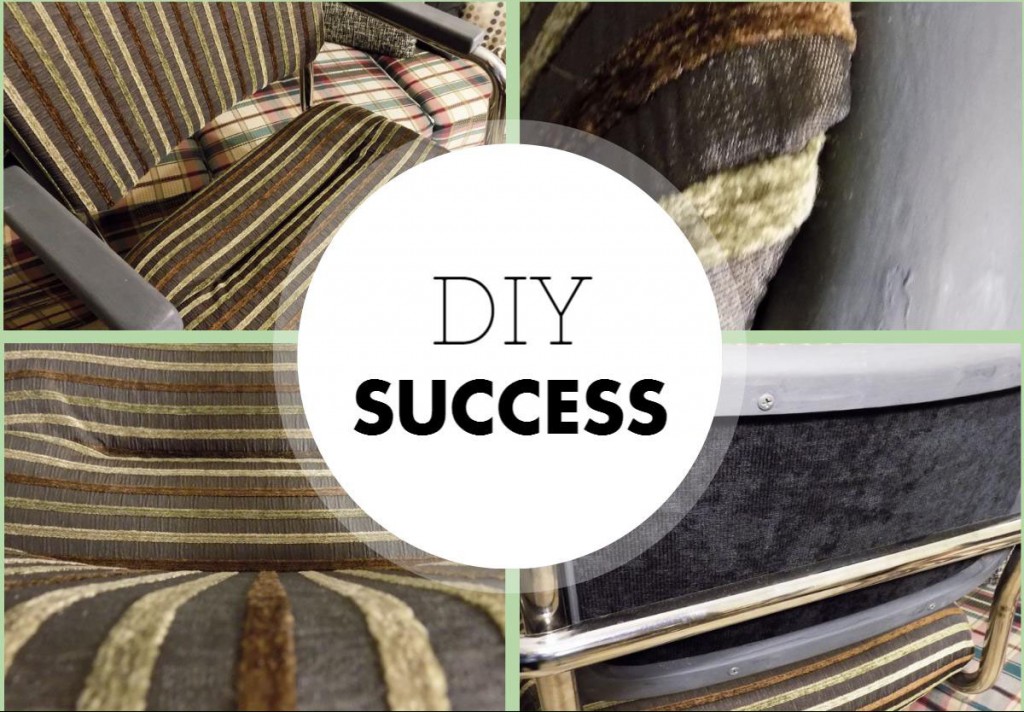
The Project
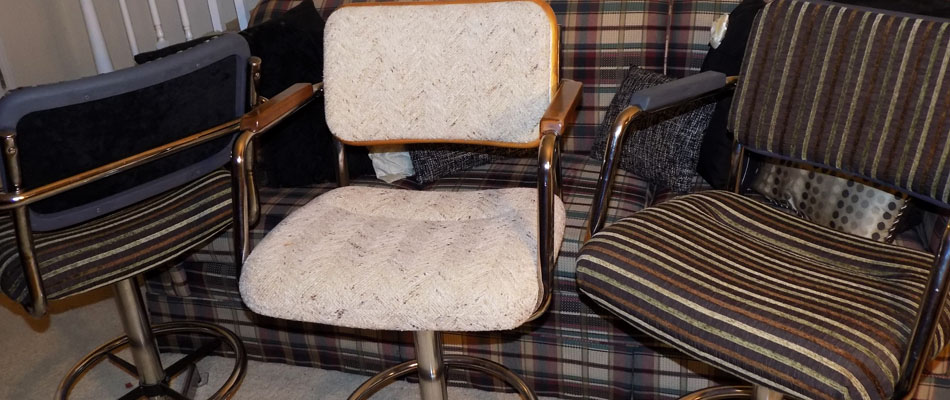
Don’t settle for an Average Joe’s bar stools. Make your breakfast nook, kitchen island, or wet bar custom with our help. We’ve put together a small tutorial. How to recover bar stools without sewing or replacing the foam! For this project we’re using two different fabrics from the Fabric Shack Home Decor Annual Tent Sale to update these stools.
Make sure to sign up for email alerts so you never miss a chance to save on your projects!
Supplies
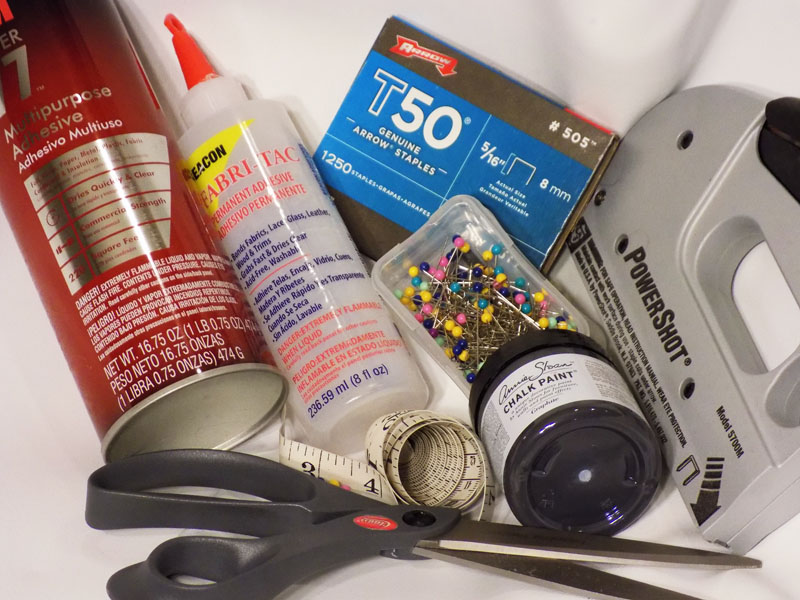
Some of my supplies are part of any well equipped craft kit, like scissors and pins, but the more specific pieces are worth pointing out!
My accent for this project was an easy choice – Annie Sloan chalk paint in color Graphite. I got this small jar from Winsome Cottage in Waynesville, Ohio. While I’ve never taken any of the various Annie Sloan workshops, I figured I could master the application and finishing processes without much hardship. I wanted a smooth, modern finish for this project but I didn’t use any wax coating. Though I do like how the pain turned out, in retrospect I should have invested in the wax too. Live and learn folks!
Beacon’s Fabri-Tac is a binding agent that will PERMANENTLY stick two pieces together. Besides most of my Halloween costumes, I’ve seen entire drapery treatments held together with this stuff. This is my go to glue. But a little goes a very long way and you have to be prepared to use such a strong binder. Tip for beginners – Do Not Lose The Cap!!!! For this project you’ll want Fabri-Tac for the seam in the bottom as well as helping to turn the corners when we flip the bottom cushion over.
3M Super 77 Multipurpose Adhesive is my favored spray glue. When I trust a brand I end up using all of their products. This is my relationship with 3M. Sure, I can peruse the Walmart shelves and find a spray glue on sale. But for this project we’re applying spray glue to the current fabric. We don’t want the new fabric to shift or wrinkle over time. Applying a LIGHT coating of spray glue is key to seamless finish, so I demand a seamless product!
I ended up getting a new PowerShot staple gun from Home Depot with size T50 staples, 5/16 ” in length. I could have used a longer staple length because some parts of the corner ended up pretty thick (this is where the Fabric-Tac came in handy).
Measurements
With stools like this accurate measurements can only be taken once all the parts are dissembled. Though you can roughly assume 1 yard per chair cumulatively. But I wanted these to be a little different so I added a piece of solid black corduroy to the back, which does change the amount of fabric needed.
Really I could use 3/4 yard of the stripe per chair, and 1/2 yard of the black corduroy should cover the back of the back cushions for all 3 chairs. Home decor fabric is 54″ wide, so you should be able to get ALL the backs out of a single 1/2 yard of the black corduroy, whereas you will need 3/4 yard of the stripe PER stool. This is a generous allotment, but still a good estimate if you want to get fabric before the parts have been dissembled and accurately measured.
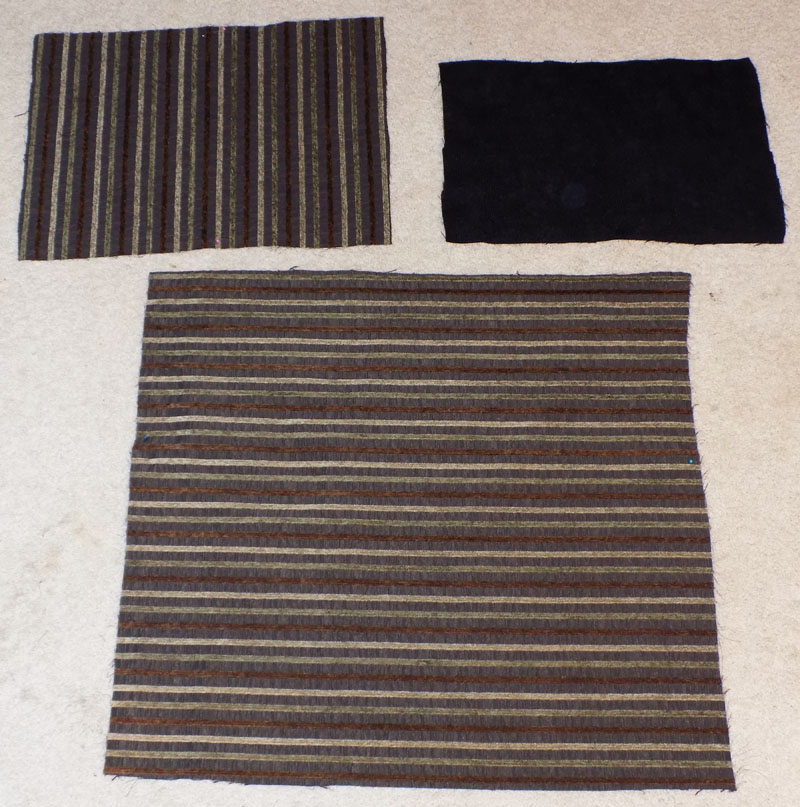 Measurements are your bread and butter. Grandma was right – measure twice, cut once! Start with the bottom cushion from the center/seam outwards and around to the bottom of the cushion for seam allowance. The top pieces are cut very close to the edge to make fitting it back together as easy as possible.
Bottom Cushion: 30″ x 27.5″
Front of Back Cushion: 21.5″ x 16″
Back of Back Cushion: 19″ x 12.5″
How To
When taking furniture apart make sure you have enough room to really space out the pieces. With this project I had painting in the kitchen, fabric cutting in the living room on the dining room table, glue and stapling happened in the garage to save the carpet as much as possible. Set up your stations and take your time. A rush job is never a good job! Try to stay as organized as possible because there can be a lot of parts once you’ve torn down all the pieces. Decide if you want to A) do each piece individually, or B) tear down all the stools and do them in groups. Either way, instead of worrying about what order to do everything in, I focused on setting up proper areas, or stations, for each of the parts of this project.
Station #1: Tear Down. Organized Parts.
Get plastic bags to separate and label where different sizes of screws, nuts, and washers came from. It’s important to keep this station clean and organized. Treat Station #1 like your home base. Spare parts, extra supplies, etc… store them here so you can find what you need quickly and easily.
Station #2: Paint Wood Trim.
Set up a drop cloth and have access to running water for Station #2. The Annie Sloan Chalk Paint requires some water and wax mixing for the best outcome. Mix paint and water in a bowl and brush on to the wood trim. The best part of this product is that there is NO PREP!!! No sanding or stripping required, which makes this perfect for a weekend project like this.
Station #3: Pin Pattern Repeat on Cushions.
Now you have the fabric measured, cut, and ready to go over the existing cushions! Before you go spray crazy with 3M glue and start stapling your fingers to the wall, get meticulous with the pattern match and placement. Use as many pins as you own.
Station #4: Spray Glue / Fabri-Tac in Garage.
With these particular cushions I had to work around the tufted seam on the bottom, so this is where I matches the stripe pattern for each stool. With a healthy spread of Fabri-Tac deep in the seam of the cushion you can avoid stitching all together! Spray the 3M adhesive on the old fabric and smooth the new piece from the center to the edges. It’s so much easier than you thought!
Station #5: Staple Gun
When the top of the cushion looks smooth with a flawless matched pattern, turn the entire cushion over and get ready for the fun part. We’re about to relieve some demons via the PowerShot staple gun you’ve got waiting. Start with your corners always and move in an X pattern instead of a circle. Pin down each corner and then the sides. Fabri-Tac is your best friend but wait for any glue used to dry before you start putting staples in. The last thing anyone wants to glue in their gun!
Back to Station #1 for Reconstruction.
Reconstructing the chair is the final step. It seems like a lifetime ago that the unevenly worn wood and grandma burlap staring out from the chrome legs. But now all that hard work is about to pay off! Gather the wood trim from Station #2 and get your screwdriver. Now we put it all back together! Having separated your pieces into plastic bags at Station #1, it’s easy to put all the parts back together. If it’s confusing for you, do one chair at a time instead of dismantling all 3 at one time.
